Category: Everyday Eats

  • Secrets to Tender Charred Chicken: Oven Method

    Secrets to Tender Charred Chicken: Oven Method

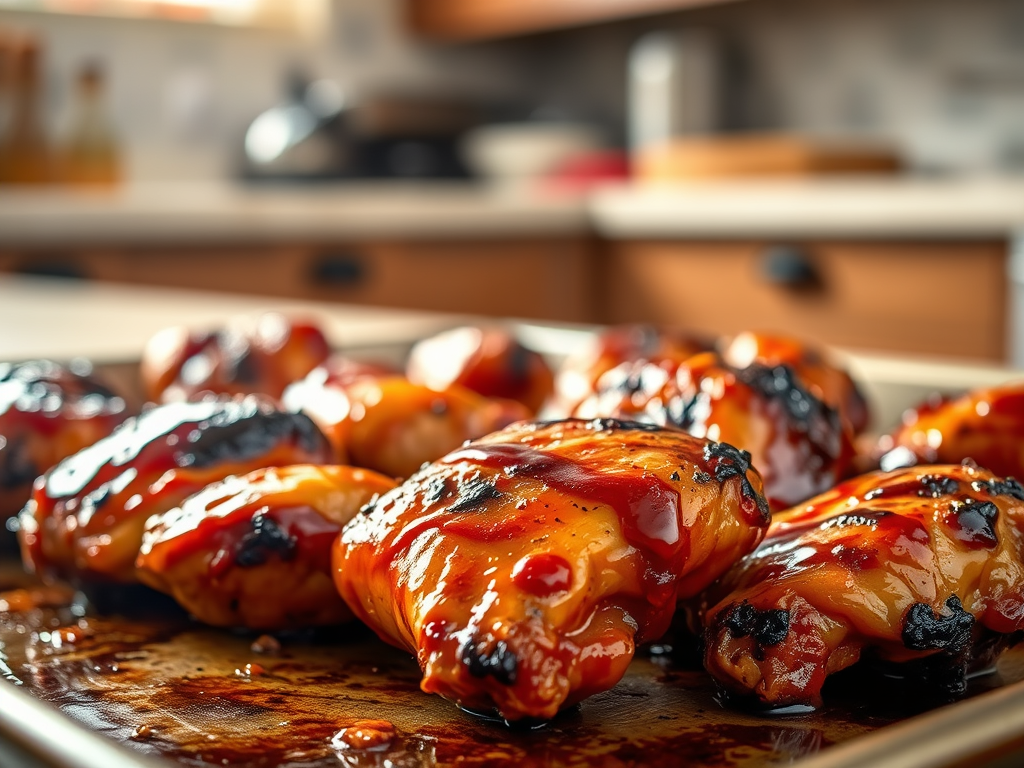
    🍗 Tender, Charred BBQ Chicken (Oven-Baked Style)

    Hey beautiful people!

    Have you ever had tender charred BBQ chicken straight from the oven? If not, go ahead and bless your kitchen with this one. It’s easy, juicy, and packed with that backyard BBQ flavor—without needing a grill! Your guests? Whew. They’ll be asking for the recipe and seconds.

    I love using dark meat like thighs or drumsticks, but any bone-in chicken works. Major key: use a good baking sheet for that perfect char.

    👉🏾 I use this one from Amazon and it gets the job done every time.

    🛒 Ingredients:

    • About 20 pieces of bone-in chicken (I like thighs + drumsticks)
    • ½ tablespoon olive oil
    • Season All (to taste)
    • Garlic powder (to taste)
    • Onion powder (to taste)
    • Smoked paprika (to taste)
    • Cajun seasoning (optional, if you like heat)
    • 2 cups BBQ sauce (your favorite brand)

    👩🏽‍🍳 Step-by-Step Instructions:

    1. Wash and pat chicken dry with paper towels.
    2. Preheat your oven to broil at 400°F.
    3. Drizzle olive oil over the chicken and rub it in evenly.
    4. Season the chicken with all your spices—be generous, sis!
    5. Place chicken skin-side down on a baking sheet.
    6. Bake for 25 minutes.
    7. Flip the chicken skin-side up, pour half the BBQ sauce over it, and return to the oven for another 20 minutes.
    8. Turn the oven up to 425°F.
    9. Pour the rest of the BBQ sauce over the chicken and bake for a final 6–10 minutes.
    10. Remove from oven and let rest before serving.

    ✅ Pro Tips:

    • Total cook time: 51 minutes
    • Chicken should reach an internal temp of 165°F
    • Pairs perfectly with baked beans and potato salad

    Let me know in the comments if you try this — tag me or send pics, I’d love to see your plate 😍

    This post may contain affiliate links. That means I may earn a small commission if you purchase through my links — at no extra cost to you. I only share products I genuinely use or love. Thank you for supporting my content 💕
  • Quick and Flavorful Leftover Rice Recipe

    Quick and Flavorful Leftover Rice Recipe

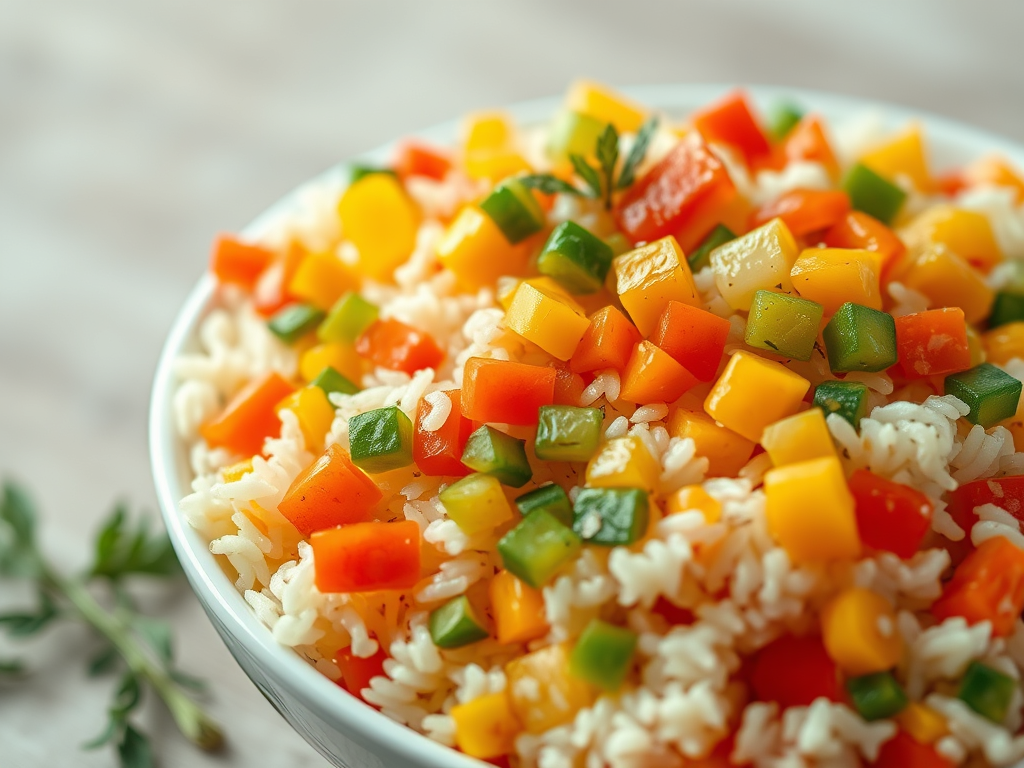
    Quick & Flavorful Leftover Rice (In a Frying Pan!)

    Hey beautiful people! I have the perfect dish when you’re in a rush. You need to whip up something but don’t feel like it because you just cooked. I’m talking about having rice left over from another meal a day or two ago. You don’t want it to go to waste.

    Look no more — I got you. This rice is just that flavorful. I’m going to tell you how to make it a game changer. It’s really quick and easy to make. All you need is a frying pan, leftover rice, minced garlic, bell peppers, and onions.

    Yes, you can make this with fresh rice too, but I personally prefer leftover rice for that perfect texture.

    🛒 Ingredients:

    • 2 cups of cooked leftover rice
    • ½ diced red bell pepper
    • ½ diced yellow bell pepper
    • ½ diced orange bell pepper
    • ¼ diced green bell pepper
    • ½ diced onion
    • 2 tablespoons of vegetable oil
    • Salt and pepper to taste

    👉🏾 Need a solid frying pan? I use this one from Amazon. It heats evenly and holds up after plenty of cooking — highly recommend.

    👩🏽‍🍳 Instructions:

    1. Put your vegetable oil in a frying pan and wait until it heats up.
    2. Place all the seasoned veggies in the pan, except the garlic. Let them cook for about 2 minutes.
    3. Add the garlic and rice, then mix well.
    4. Once the veggies are soft to your liking — boom — you’ve got some bomb rice to go with any meal.

    I sometimes eat this by itself because it’s just that flavorful.

    Have you made a meal with leftover rice? Let me know in the comments!

    This post may contain affiliate links. That means I may earn a small commission if you purchase through my links — at no extra cost to you. I only share products I genuinely use or love. Thank you for supporting my content 💕

  • Juicy Chicken Thighs or Breasts Recipe

    Quick & Juicy Air Fryer Chicken (30-Minute Magic)

    If you’ve got an air fryer and 30 minutes, then sis — you’ve got dinner! This juicy, golden-brown chicken hits every time and takes the stress out of “what’s for dinner?” It’s flavorful, fast, and foolproof.

    I usually grab chicken thighs or breasts, season them up real good (no bland plates over here), and boom — dinner is served. This one stays in heavy rotation at my house!

    🛒 Ingredients:

    • 4 chicken breasts or thighs
    • 1 tsp paprika
    • ½ tsp garlic powder
    • ½ tsp onion powder
    • ⅛ tsp cayenne pepper (optional, for a little kick!)
    • Vegetable oil spray (optional)

    👉🏾 Don’t have an air fryer yet? I use this one from Amazon and it stays in heavy rotation. Crispy, quick, and easy to clean!

    👩🏽‍🍳 Step-by-Step Instructions:

    1. Rinse and clean your chicken, then pat dry with a paper towel.
    2. Preheat your air fryer to 400°F.
    3. Season both sides of the chicken with your spice mix. Be generous — if you can’t smell it, it’s not seasoned enough 😄
    4. Spray lightly with oil and rub it in for an extra crisp finish (optional but worth it).
    5. Place chicken skin-side down in the air fryer basket.
    6. Cook for 25 minutes total, flipping halfway at the 10–12 minute mark for even browning.

    ✅ Pro Tips:

    • This pairs perfectly with mashed potatoes and a veggie for a quick, balanced dinner.
    • Want extra flavor? Marinate your chicken for 30 minutes beforehand with olive oil + lemon juice.
    • Chicken is done when internal temp hits 165°F.

    This meal is a lifesaver on busy nights — quick, easy, and still feels like love on a plate. Let me know in the comments when you give it a try!

    This post may contain affiliate links. That means I may earn a small commission if you purchase through my links — at no extra cost to you. I only share products I genuinely use or love. Thank you for supporting my content 💕